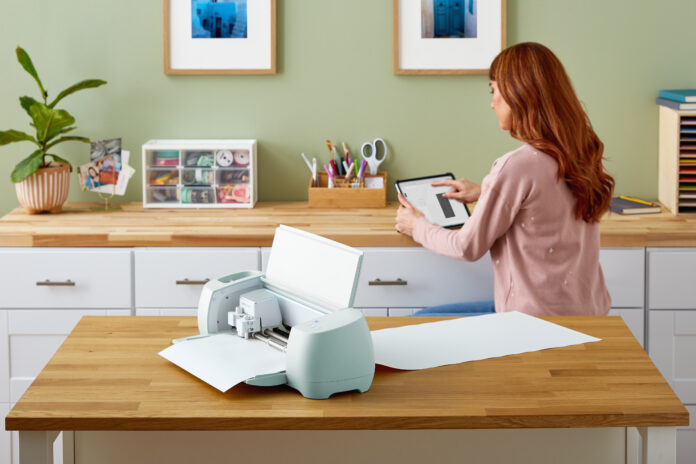
School holidays are the perfect time to unleash your creativity and bond with your kids over some fun crafts. Whether you’re a seasoned Cricut owner or new to the crafting game, we’ve got you covered with these simple step-by-step guides to make your school holiday crafts easy, enjoyable, and memorable. So, gather your supplies, clear the dining table, and let’s get crafting.
- Get wild with animal masks
What’s your favourite animal? A mighty lion? A fluttering butterfly? Or maybe a fiery dragon! Have the kids choose the animals they want to be, then search Cricut Design Space for the ideal mask templates.
- Load cardstock in whatever colours and textures the kids choose, and let the Cricut Maker 3 do its cutting magic.
- Now simply peel them off the mat (carefully – adult supervision is best here), and attach an elastic string to fit round their heads.
- Go to town decorating the masks with markers, glitter, stickers, stamps and paint.
2. Make your own sticker books
For this craft, all you’ll need printable vinyl or sticker paper.
- Have the kids draw and doodle on typing paper, then scan and upload their drawings into Design Space, and use the “Print then Cut” feature on your Cricut to create custom stickers.
- Once cut, let your kids peel and stick their custom creations on notebooks, water bottles, or wherever their creativity takes them.
- Turn this into a mini-business and create a sticker store at home where they can ‘sell’ their designs to family members for fun!
3. Personalised puzzles
The great thing about personalised puzzles is that they’re fun to make and kids can continue to play with them and be reminded of their school holiday fun for years to come.
- Grab some printable puzzle sheets or sturdy cardstock, markers, paint, or use their favourite printed designs or photos.
- Use Cricut Design Space to set up the puzzle template, load the design into your Cricut and cut it out into puzzle pieces.
4.Tote bag decorating
If you’ve got tons of shopping totes laying around (don’t we all!), this one’s perfect for you.
- Using Cricut Design Space, let your kids choose designs or text they would like on their tote bags. It could be their name, a favourite cartoon or TV show character, or a cool graphic.
- Cut the design in your Cricut using iron-on vinyl. If your totes are all black, you can achieve some cool effects using glitter, foil, or even holographic iron-on vinyl – the choices are endless!
- Simply peel away the excess iron-on so that only your design remains, and use a Cricut EasyPress or a household iron to transfer the design onto the tote bag. (This is a great step for kids to watch but requires adult assistance).
5.Create a fun DIY night light
For little ones who struggle to fall asleep in a dark room, these creative night light jars may be just what they need.
- Let your kids choose simple shapes, like stars, hearts and animals in Cricut Design Space.
- Using frosted vinyl, cut the shapes in your Cricut machine and apply them to the outside of a clear jar or cup.
- Place a battery-operated tea light inside the jar to create a soft glow and make bedtime a little more magical.
Crafting is about so much more than making pretty things – it’s about spending quality time as a family, unleashing your creativity, and making memories that will last long after the glue has dried. It also happens to be the best way to keep kids (and parents) happy and entertained during the school holidays!
For more Cricut inspiration, explore Cricut Design Space, where you’ll find a treasure trove of projects, from quick crafts to personalised gifts and ambitious DIY home décor projects, tailored for all skill levels.

